
Welcome to my kitchen, my laboratory, where experiments become a reality, jk but no seriously testing out recipes in the kitchen are always fun. It is the clean up that is no fun. Last night and (this morning) I made Arnel beignets because they are his all time favorite especially after he tried my mom’s. My mom’s recipes are always based by “eye balling” it and it drives me insane because it’s hard to keep a recipe book or share recipes. I hope I am not the only one who has experienced this, I get my cooking from my mom, the amount of recipes I have converted into my book, I am currently at like 10 out of 500. I have actually had to watch her and create the accurate measurements, because I am sure if I started out with “two cereal bowls of flour” everyone would just stop reading. Writing recipes has been so tricky, so hold on tight as I have made these conversions myself.


The items you will need,
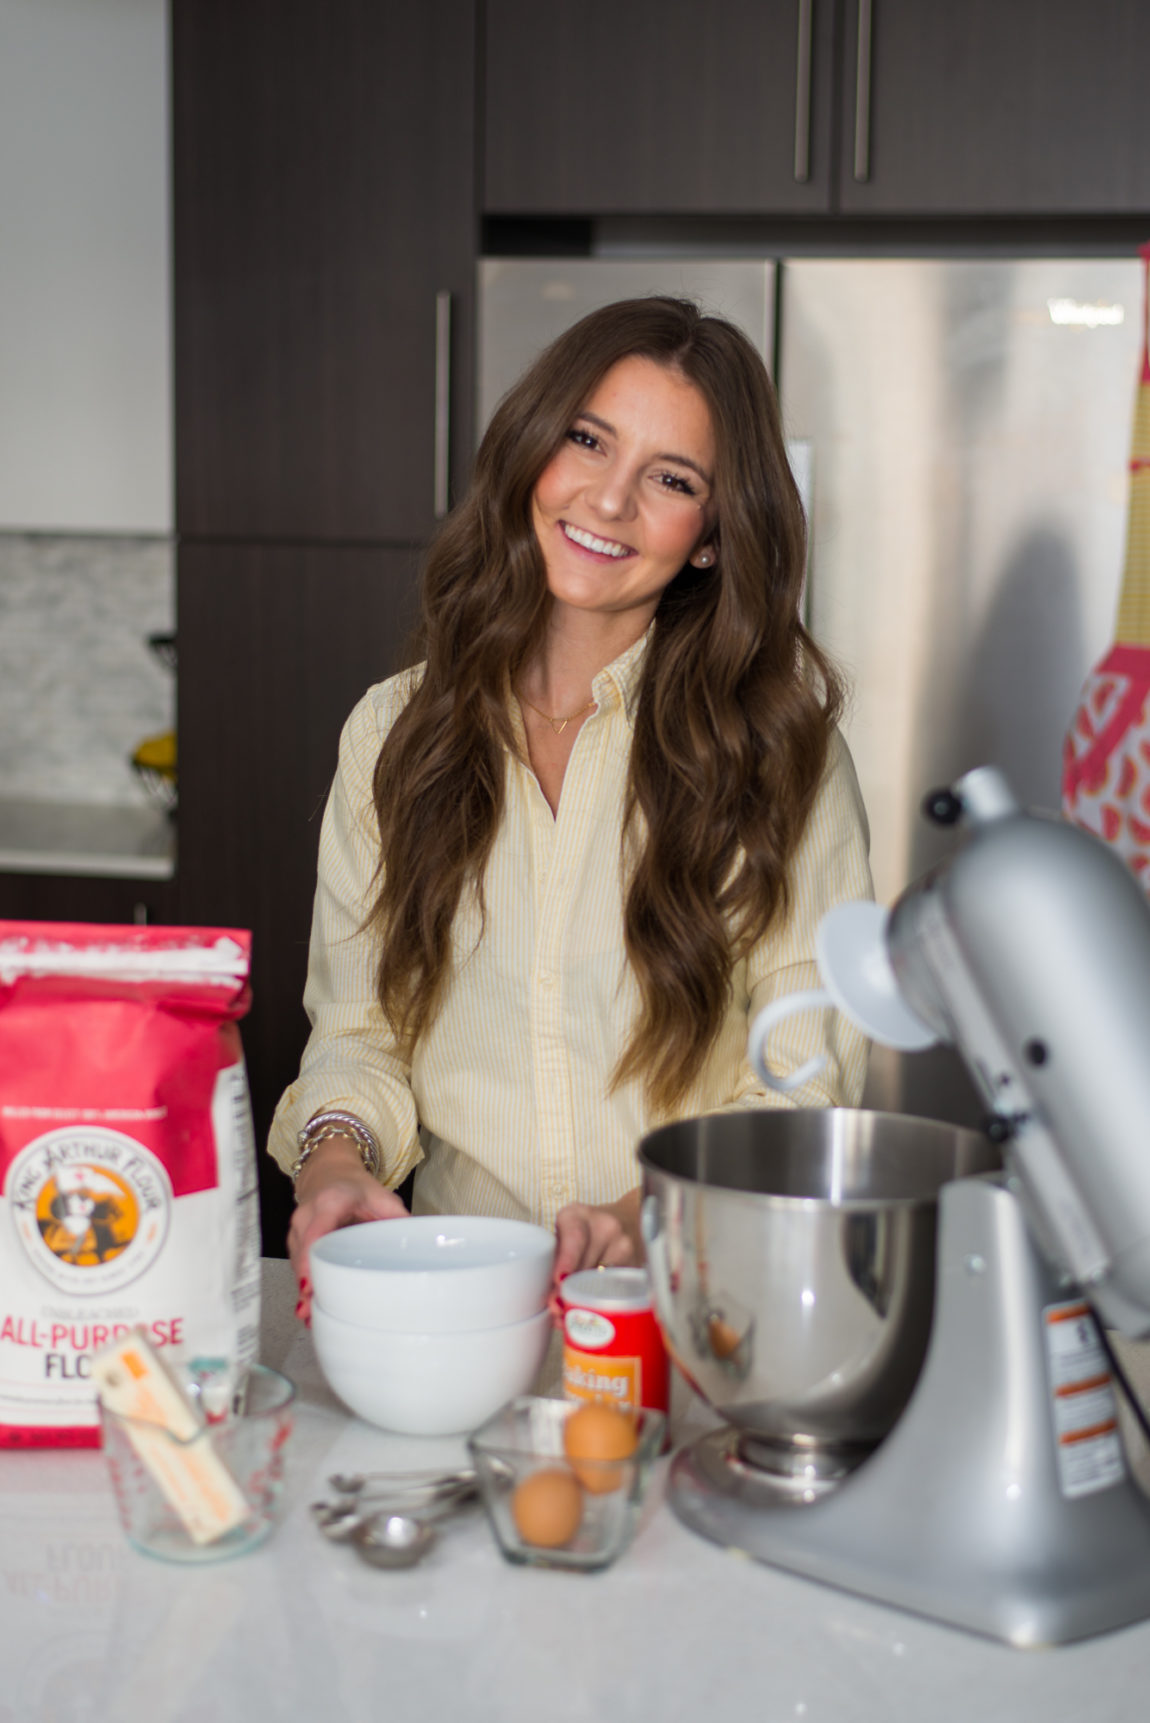
1 egg
5 cups of flour (makes more than enough, my mom cooked for a family of 5)
pinch of salt
2 1/4 teaspoon of active dry yeast (read instructions below, very precise)
1 tablespoon (heaping) of sugar
1/2 teaspoon (heaping) of baking powder
milk (warm): until the dough is nice and firm(you will add this at the end)
1/2 stick of butter (softened not melted all the way)
1/4 teaspoon of sugar (mixed with the yeast)
Kitchen Aid Mixer (not needed but it makes baking so much easier)
Vegetable Oil: used for frying your beignets.
First Step: take your 2 1/4 teaspoons of dry yeast and 1/4 teaspoon of sugar; combine into a little mixing bowl, add a splash of warm (not hot) water; mix it up and set it aside while you prepare everything else.
Second Step: grab a large mixing bowl or use your Kitchen Aid Mixer Bowl, take your 6 cups of flour, run it through a sifter into the bowl. Add your 1 tablespoon of sugar, pinch of salt & 1/2 teaspoon (heaping) of baking powder into the bowl of flour mixture.
Third Step: soften your 1/2 stick of butter into a bowl (microwave for 15 seconds) make sure its not completed melted, then use a fork and mash it up for a thick liquid consistency.
Fourth Step: Combine your flour mix, your yeast mix, your butter and your 1 egg (don’t scramble them, just crack them into the bowl) mix it gently using your Kitchen Aid Mixer or your fingers, while you are mixing, you will notice that the mixture is a little dry/crumbly this is where you add your warm milk, 1 splash at a time until it forms a nice consistency, no dry crumbles. Then you form a doughy ball (like the one pictured) your warm hands will keep it nice and solid. PLEASE MAKE SURE THAT YOU ADD ENOUGH MILK TO IT, otherwise they won’t be as soft and airy.
Fifth Step: Cover your bowl with plastic wrap and let it sit for about 1 hour (it has to rise).
Sixth Step: Place your dough on a solid surface, make sure you have flour under it and on it so it doesn’t stick while you roll it out. Roll it out nicely kind of like pizza crust, you can have them as thick as you want or as thin as you want. (I made mine more bite size) My mom makes huge donut size ones. 🙂
Seventh Step: Use a round glass or cookie cutter, honestly whatever you prefer. I used a glass because it forms smaller circles. Now, do not throw away the left over dough, form a nice ball again and repeat with rolling them out. You will make more than enough. Now that you have completed your batch, cover them nicely using a clean towel, so they stay nice and warm and rise quicker. Let them rise for about 30-45 minutes. Remember if your house is pretty chilly, they probably won’t rise as quickly.
Eight Step: Grab a bottle of vegetable oil and depending on the size of your sauce pan, the deeper the better, pour enough oil into it so its about 2.5 inches deep. Let it get hot on low heat, you can test to see if it’s warm enough by testing out one of them, they should float and sizzle a tiny bit. Make sure your heat is kept on low you don’t want them to bake on the outside but then be left raw on the inside.
They should be golden brown, safely strain them out of the oil into a bowl;at the end sift some powdered sugar on top. Remember the consistency of the beignet should be airy!
If at first you don’t succeed, don’t give up. No one became a professional baker over night, I am still learning myself and trying to convert my mom’s “eye balling” recipes into real measurements.
xoxo
LOH
PS THERE IS A MAJOR FLASH SALE AT ANN TAYLOR (70% PERCENT OFF) ENDS TUESDAY!


No Comments